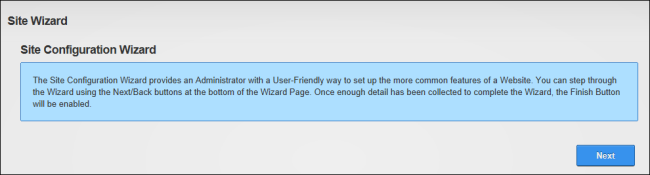
About the Site Wizard
The Wizard is a simple step-by-step wizard that allows users to configure basic site setting, choose a site design and use a site template that can include site content.
All users who are authorized to view the Wizard can complete the wizard, however only authenticated users can change the site logo and must have file upload permission to upload a new logo image.
Using the Site Wizard
- Navigate to > Advanced Settings >
 Wizard - OR - Go to a Wizard.
- On the Configuration Wizard page, review the introduction and then click the Next button.
- On the Choose a Template for Your page, choose the site template. Templates include pages and modules that may or may not include content. Click the Next button to continue.
- At Build the site from a template (below), mark
 the check box to display a list of templates for all languages installed on the site and select a template. This displays a description of the selected template.
 - Choose one of the following options to set how duplicate modules will be handled:
- Ignore: Places a copy of any duplicated modules on the same page.
- Replace: Deletes the existing copy of the duplicate content and replaces it with the template copy. Deleted pages are moved to the Recycle Bin and the page name appended with _Old. E.g. The replaced Home page will be called Home_Old. Restoring these pages will only restore the page and not the modules or module content.
- Merge: Combines the existing information and template information into one module.
- Click the Next button.

- On the Select a for your page, select a new default skin for site pages. This won't change the skin used on pages that aren't using the default skin.
- Optional. To preview a skin, click on the thumbnail image (where provided). This displays a larger image of the skin in a new .
- Select a skin and click the Next button.

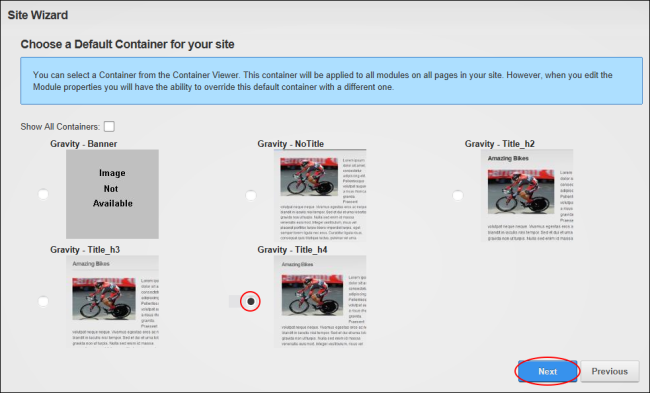
- On the Choose a Default for the site page, select a new default container to be used for modules. This won't change the container used on modules that aren't using the default container.
- If a skin was selected at Step 4, the matching containers are displayed here and the default container is pre-selected.
- Optional. Mark the check box at Show All Containers to view all of the available containers.
- Optional. To preview a container click on a thumbnail image (where provided). This displays a larger image of the container in a new .
- Select a container and click the Next button.
- On the Add Details page, enter or edit the site details for this site. These are the default details used by search engines to index the site.
- In the Name/Title text box, enter the name or title to be applied to the site. This will show in visitor's title.
- In the Description text box, enter description to be applied to the site. This will be the description that Internet search engines will display to visitors. The site must be submitted to these search engines.
- In the KeyWords text box, enter keywords to be applied to the site. These are the keywords that Internet search engines will look.
- At Logo, upload and/or select a new site logo. See "Setting a File Link" or See "Uploading and Linking to a File"
- Click the Finish button. Users are now redirected to the Home page of the site where the changes made are visible.

Open topic with navigation